 Extend Kestra with the API
Extend Kestra by using the API.
Kestra is built with an API-first design in mind, with a powerful API allowing you to connect Kestra to external systems. Whether that's through your flows directly or using the Kestra API, there's lots of options.
In this guide, we're going to specifically look at the Kestra API and how that can enable you to extend Kestra and integrate it into other systems.
Using the API Reference
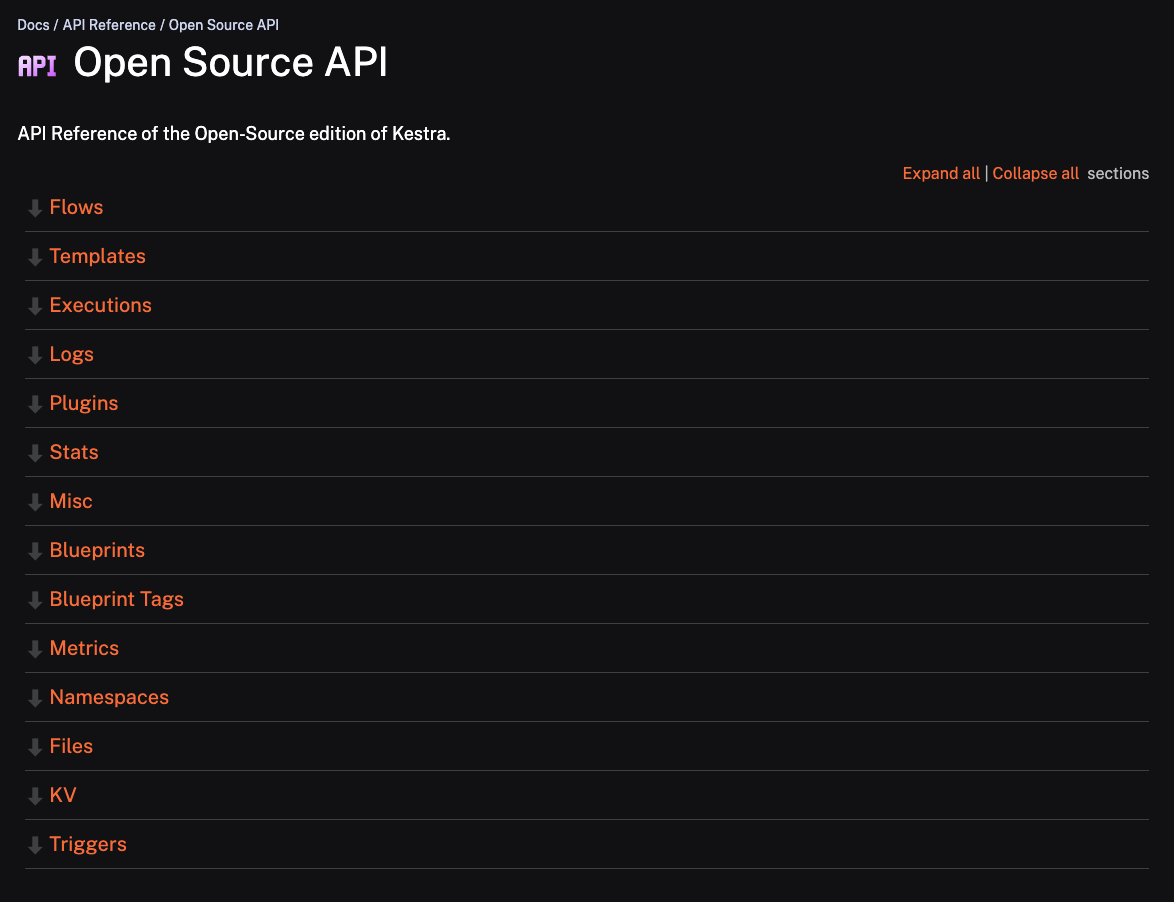
In the documentation, there's references for both the Open Source as well as Cloud & Enterprise APIs to make it easy to know what you can do with them. We're going to look at a number examples we can create with both references. When we open the Open Source API Reference, we can see there's a number of sections to make it easy to navigate:

Making Requests with Authentication
If you have Basic Auth enabled, or you're using the Enterprise Edition, you will need to add authentication to your requests. You can easily do this using the -u argument and passing our username and password in using the following format username:password. This example uses the default username and password inside of the Kestra Docker Compose:
curl -X POST -u '[email protected]:kestra' http://localhost:8080/api/v1/executions/company.team/hello_world
With the Enterprise Edition, you can generate API Tokens to authenticate when making requests, for example:
curl -X POST http://localhost:8080/api/v1/executions/company.team/hello_world \
-H "Authorization: Bearer YOUR_API_TOKEN"
For the examples below, we will not have authentication enabled.
Create a Flow
To create a flow using the API, we can first go to the Flows section of the API Reference and see the /api/v1/flows POST Request which takes a YAML body with the Flow in it.
Our body of Content-Type application/x-yaml will look like the example below:
id: created_by_api
namespace: company.team

tasks:
  - id: hello
    type: io.kestra.plugin.core.log.Log
    message: Hello World! 🚀
To make this request, we can use cURL in the command line:
curl -X POST http://localhost:8080/api/v1/flows -H "Content-Type:application/x-yaml" -d "id: created_by_api
namespace: company.team

tasks:
  - id: hello
    type: io.kestra.plugin.core.log.Log
    message: Hello World! 🚀"
When we make this request, we will get a response like below:
{
  "id": "created_by_api",
  "namespace": "company.team",
  "revision": 1,
  "disabled": false,
  "deleted": false,
  "tasks":
    [
      {
        "id": "hello",
        "type": "io.kestra.plugin.core.log.Log",
        "message": "Hello World! \uD83D\uDE80",
      },
    ],
  "source": "id: created_by_api\nnamespace: company.team\n\ntasks:\n  - id: hello\n    type: io.kestra.plugin.core.log.Log\n    message: Hello World! \uD83D\uDE80",
}
Execute a Flow
To execute a flow, we need the namespace and flow ID. We have an example flow called hello_world in the company.team namespace with one string input:
id: hello_world
namespace: company.team

inputs:
  - id: greeting
    type: STRING
    defaults: hey

tasks:
  - id: hello
    type: io.kestra.plugin.core.log.Log
    message: "{{ inputs.greeting }}"
As our input has a default value, we can execute it by simply making a POST request /api/v1/executions/{namespace}/{id} like below:
curl -X POST \
http://localhost:8080/api/v1/executions/company.team/hello_world
If we want to add an input as part of our request, we can add it as part of our form data with -F:
curl -X POST \
http://localhost:8080/api/v1/executions/company.team/hello_world \
-F greeting="hey there"
When we do this, it will return the following response:
{
    "id": "MYkTmLrI36s10iVXHwRbR",
    "namespace": "company.team",
    "flowId": "hello_world",
    "flowRevision": 10,
    "inputs": {
        "greeting": "hey"
    },
    "labels": [
        {
            "key": "system.correlationId",
            "value": "MYkTmLrI36s10iVXHwRbR"
        }
    ],
    "state": {
        "current": "CREATED",
        "histories": [
            {
                "state": "CREATED",
                "date": "2024-11-21T16:31:27.943162175Z"
            }
        ],
        "duration": 0.044177500,
        "startDate": "2024-11-21T16:31:27.943162175Z"
    },
    "originalId": "MYkTmLrI36s10iVXHwRbR",
    "deleted": false,
    "metadata": {
        "attemptNumber": 1,
        "originalCreatedDate": "2024-11-21T16:31:27.943194342Z"
    },
    "url": "http://localhost:8080//ui/executions/company.team/hello_world/MYkTmLrI36s10iVXHwRbR"
}
For more examples on executing with the API, check out the Executions documentation
Get Information from an Execution
When we execute a flow with the API, our response includes the Execution ID from that execution. This means we can use this to fetch more information about the Execution, especially once it's completed. In the previous example, the execution ID generated was MYkTmLrI36s10iVXHwRbR so let's use that to get an updated status on the execution with the GET Request /api/v1/executions/{executionId}:
curl -X GET http://localhost:8080/api/v1/executions/MYkTmLrI36s10iVXHwRbR
The response received includes everything about the execution including the times the state changed, and any outputs generated:
We can modify our flow to generate an output like so:
id: hello_world
namespace: company.team

tasks:
  - id: hello
    type: io.kestra.plugin.core.debug.Return
    format: "This is an output"
When we fetch the data from an Execution of this flow with Execution ID 59uQXHbkMy5YwHEDom72Xv, we get the following response:
Accessing the KV Store
Kestra has a KV Store which is useful for making your flows stateful. We can fetch, modify and delete data in the KV Store using the API. This can be useful if you want to modify the KV Store directly inside of your code being executed by Kestra, or by an external system.
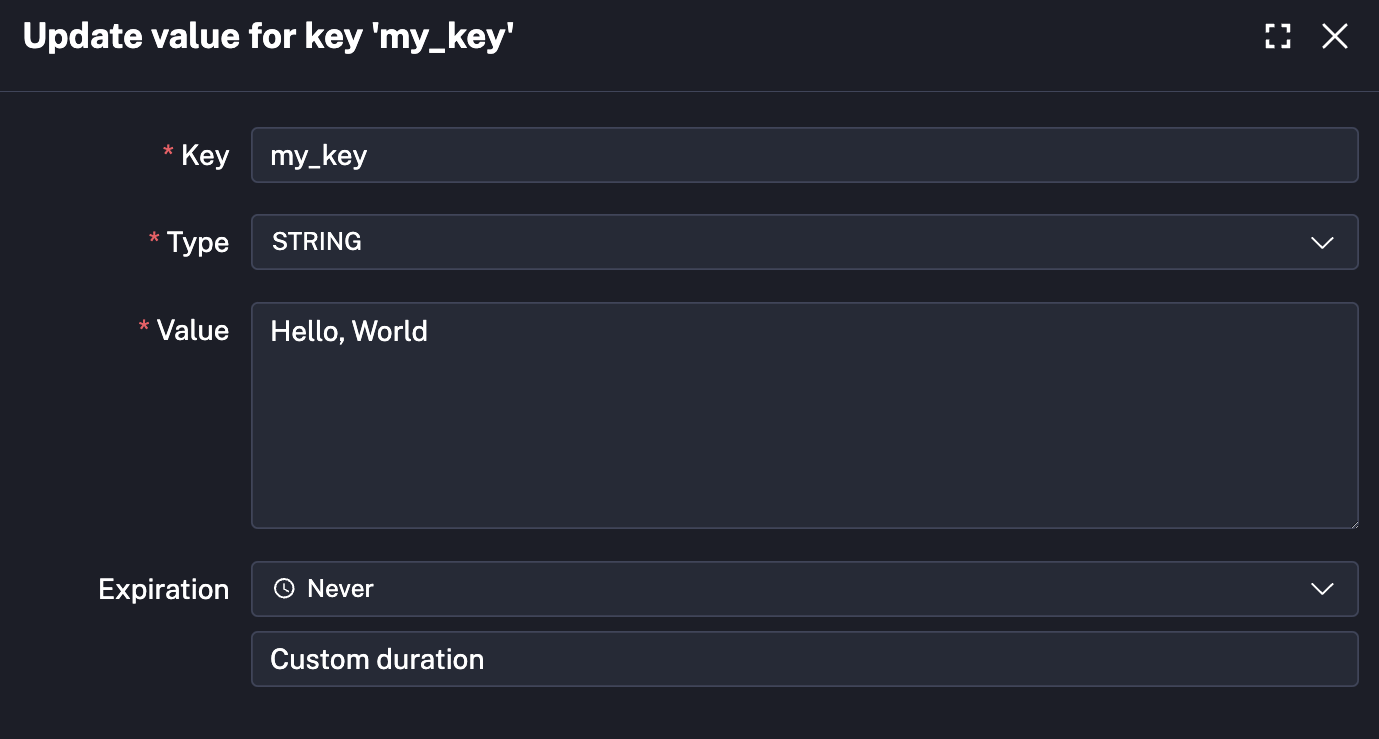
To start with, we can add a KV pair to the KV Store with the following PUT request /api/v1/namespaces/{namespace}/kv/{key}. In this example, we're going to add a my_key key with the value set to "Hello, World" into the company.team namespace.
curl -X PUT -H "Content-Type: application/json" http://localhost:8080/api/v1/namespaces/company.team/kv/my_key -d '"Hello, World"'
We can check in Kestra that it was added successfully:

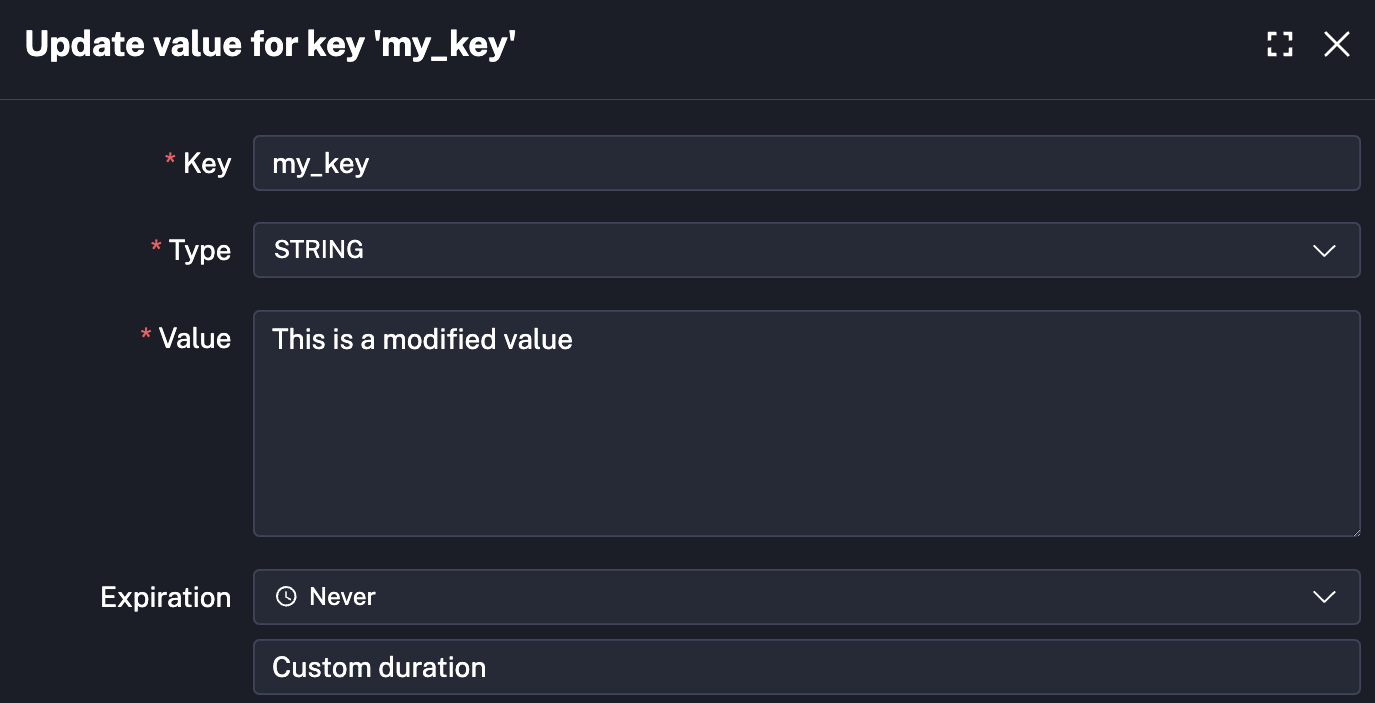
We can modify this by changing the body. For example, we will change the body to "This is a modified value":
curl -X PUT -H "Content-Type: application/json" http://localhost:8080/api/v1/namespaces/company.team/kv/my_key -d '"This is a modified value"'
We can see the key has been modified since it was created:

When we open the key, we will see the value has also been modified to reflect our request.

If we want to fetch the value from the KV Store, we will do so with the following GET Request /api/v1/namespaces/{namespaces}/kv/{key}. In this example, we can fetch the latest value from the key my_key:
curl -X GET http://localhost:8080/api/v1/namespaces/company.team/kv/my_key
It returns the response containing the pair:
{
    "type": "STRING",
    "value": "This is a modified value"
}
You can read more about using the KV Store with the API in the KV Store documentation
Get and Upload Namespaces Files
Along with managing your Flows with the API, you can also manage your Namespace Files.
Using the GET Request /api/v1/namespaces/company.team/files/directory, we can get a list of all the files in our namespace.

We will make this request for the company.team namespace with the following command:
curl -X GET http://localhost:8080/api/v1/namespaces/company.team/files/directory
Our response contains an array containing information about the files:
[
    {
        "type": "File",
        "size": 13,
        "fileName": "example.txt",
        "lastModifiedTime": 1731430406183,
        "creationTime": 1731430400773
    },
    {
        "type": "File",
        "size": 27,
        "fileName": "example.js",
        "lastModifiedTime": 1731415024668,
        "creationTime": 1730997234841
    },
    {
        "type": "File",
        "size": 19,
        "fileName": "example.sh",
        "lastModifiedTime": 1731415024667,
        "creationTime": 1730997234839
    },
    {
        "type": "File",
        "size": 171,
        "fileName": "example.ion",
        "lastModifiedTime": 1731430044778,
        "creationTime": 1731430012804
    },
    {
        "type": "File",
        "size": 21,
        "fileName": "example.py",
        "lastModifiedTime": 1731415024667,
        "creationTime": 1729781670534
    }
]
With this information, we can make a request to get the content of a specific file using a GET request /api/v1/namespaces/{namespace}/files.
We will make the following request to fetch the content of example.txt:
curl -X GET 'http://localhost:8080/api/v1/namespaces/company.team/files?path=example.txt'
which returns:
Hello, World!
We can also upload files using a POST request /api/v1/namespaces/{namespace}/files. In this example, we will upload a Python file called api_example.py with the following content:
import requests

r = requests.get("https://kestra.io")
print({r.status_code})
To do this, we will make the following request:
curl -X POST 'http://localhost:8080/api/v1/namespaces/company.team/files?path=api_example.py' -H "Content-Type:multipart/form-data" -F "fileContent=@api_example.py"
Note: Make sure fileContent has the correct path to your file.
When we make this request, we can see it appear in the Namespace Editor:

Was this page helpful?